My stats show a number of people coming to my site via google looking for a chicken doorstop and only getting a pyramid doorstop. Now that didn’t seem right to me so I have had a bash at writing a tutorial for one of those cute and funky chicken doorstops. Hope you like it. If you have a go please let me know if there are any mistakes and I will try and remedy. Happy Sewing.
Supplies
Template – Chicken Door Stop pdf
( you need to click on the doorstop file again when it goes to the next page – you should then get the PDF to come up)
cardboard – I use an old cereal box
scissors – paper and fabric
sewing machine – although you could hand stitch it
fabric
scraps of red and yellow felt,
2 x small buttons for eyes, or you could sew with a dark coloured embroidery floss
rice or another suitably heavy filler that will hold your door open
Now let’s get started.
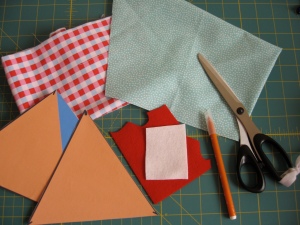
Print 2 copies of the template, and glue it to some cardboard, and cut out with paper scissors one triangle and one triangle plus the extra bit.
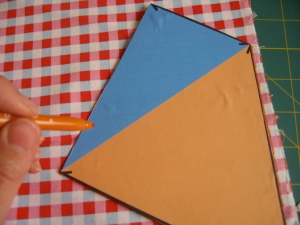
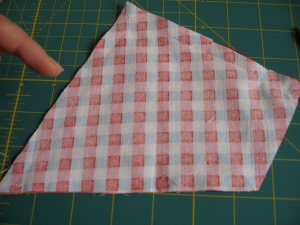
Using your triangle template mark out on the fabric and then cut your fabric. You need just one of these.
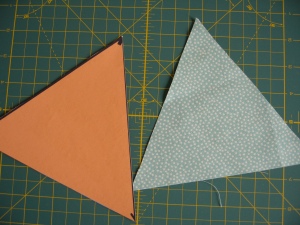
Now for the funny shaped pattern piece, which we will call the triangle plus piece. Fold your fabric right sides together and draw around the template and cut out.
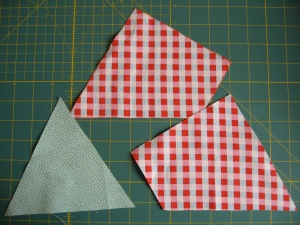
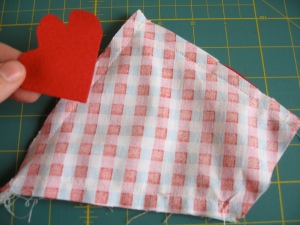
You fabric pieces should now look like this.
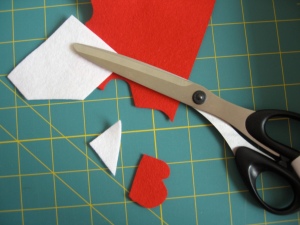
Now get the felt from your supplies and cut out free hand a beak, a wattle (the bit they have under their beak) and a comb (the bit they have on the top of their head) See here.
You should have 3 pieces (and not the 2 in the picture – oops)
Lay your beak and wattle like this along the top right of the triangle plus piece on the right side.
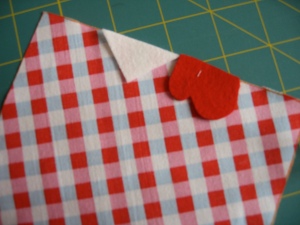
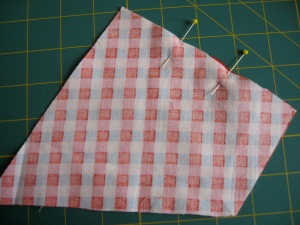
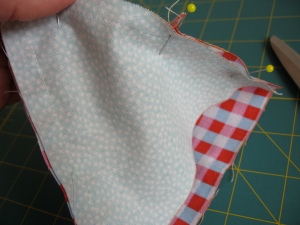
Put the other triangle plus piece on top and pin. Sew with a 1/2″ seam allowance
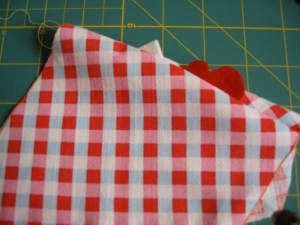
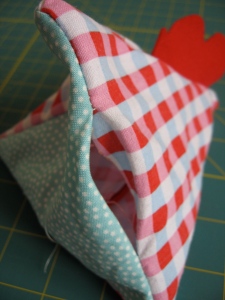
If you turn it the right way it should look like this
Now do the same for the comb on the other seam of the triangle plus piece.
Now you are going to sew the bottom on to your chicken.
Take the triangle piece and pin it along one of the long seams, right sides together. Sew. Then do the same for the side which is divided by the seam.
It gets a bit fiddly, but don’t stress too much even if your lines are wonky it should look ok in the end.
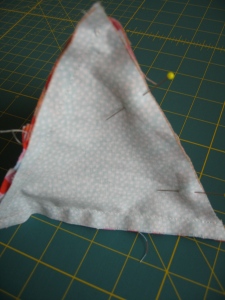
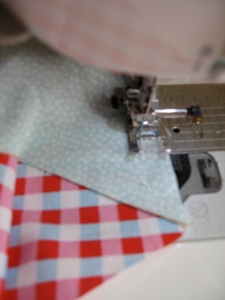
Now you should just have only one side of your chicken open. You are going to sew along this side leaving a couple of inches open in the middle to turn him the right way round.
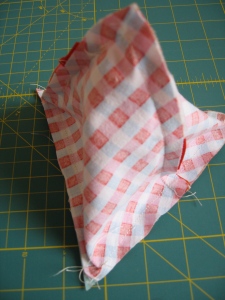
Now turn the chicken right way round using a chopstick to gently poke the corners out.
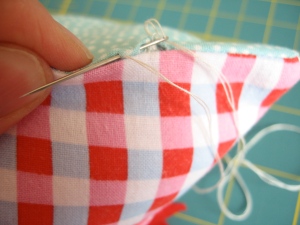
Stuff your doorstop with rice or something suitably heavy. Then hand sew the opening closed.
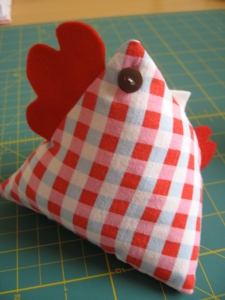
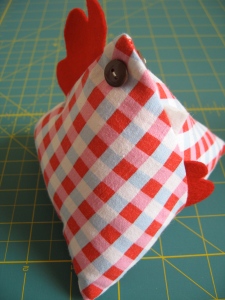
Add a couple of buttons for eyes of do some fancy embroidery ones and TA DA one super cute chicken doorstop!!
If you don’t fancy making one of these yourself (and you really should), then check these lovely handmade chickens out they are not doorstops but are super cute, just the same.

This is super cute! How sweet of you to make a tutorial!
What a fab tute – and it’s lovely of you to have linked to my shop. Thank you. It’s funny, there must be so many ways to make these. Mine are made very differently, and I want to try it your way now. And we just thought it was a simple triangle! LOL. x
Hi! One of my friends asked if I knew how to make a quilted chicken for a book stop, that she uses to keep open her cookbooks and I found you.
It is just like how she explained to me, like your chicken. I will make her one today and she’ll be thrilled. It’s too cute!!
Thank you from a Dutch person who lives in California, and would love some cooler weather.
Daisy Hovey
Just what I’m looking for to make as a Christmas pressie for a friend. Definitely going to make it.
I have a secret sister for a retreat and she loves roosters!! This will be a great prezzie!! Thanks!
Finlyal! This is just what I was looking for.
So cute! I love them!
So simple and easy…so impressed with how they came out!
Keith is like what I would have looked like by now if I di;d1#82&7nt go lose weight two years ago by losing over 100 lbs. I weighed 330 lbs and ate 6000 calories a day. Now I weigh 220 lbs and eat about 2000 per day. It CAN BE DONE!
Pingback: MiniMak Makings - Because MAKING it yourself, MAKES you happy
I love this – I will make one for my daughter !
Just made one for my wife for Christmas, if a 43yr old man can make one of these in about an hour then anyone can do it. Looks surprisingly good if I say so myself ….
Excellent thank you very much i have been trying to know how to make these. 🙂
Thank you, this was just what I was looking for. I wanted a patchwork one, so sewed the outside in strips so I have a stripey chicken. Am already planning who to make for so I can adapt this and make a whole brood.
I think this is among the most vital information for me. And i am glad
reading your article. But want to remark on few general
things, The site style is ideal, the articles is really great : D.
Good job, cheers
Having read this I believed it was very informative. I appreciate you spending some time and effort to put this
content together. I once again find myself spending
a lot off time both reading and commenting. But so what, itt was still worth it!
It’s very easy to find out any topic on web as compared to textbooks, as I found this paragraph at this website.
Asking questions are actually fastidious thing if you are not
understanding anything completely, except this paragraph offers pleasant understanding even.
I savour, lead to I discovered exactly what I used to be taking a look for.
You’ve ended my 4 day long hunt! God Bless you man. Have a great
day. Bye
When someone writes an piece of writing he/she maintains the thought of a user in his/her brain that how a user can know it.
Therefore that’s why this piece of writing is perfect.
Thanks!
Pingback: Pyramid Box Template Free